
Why This Walkthrough Matters
Your security deposit - often equal to one or two months' rent - is at risk from the moment you accept the keys. Landlords are legally permitted to deduct from that deposit for damage beyond normal wear and tear, but the burden of proving when that damage occurred often falls on the renter. A thorough, documented walkthrough shifts that burden back where it belongs.
This checklist is designed for use during your move-in walkthrough, ideally completed before you sign the lease or on the same day you receive your keys. It covers every major area of a standard apartment and produces the kind of written, photographic record that protects your deposit when you eventually move out. For a broader picture of your rights around deposits, see our guide on security deposit rules every US renter should know.
If this is your first time renting, the walkthrough is one piece of a larger process - our first-time renter's walkthrough covers everything from your rental application to your first day in the unit.
Always Get the Inspection Report Co-Signed
A walkthrough checklist you complete alone has limited value in a dispute. Request that the landlord or property manager sign the completed inspection form before you move in. If they refuse, send your completed checklist and photos via email immediately after the walkthrough - this creates a timestamped paper trail that can be critical if deposit deductions are contested later.
What to Bring and How to Prepare
Arriving prepared makes the difference between a thorough inspection and a rushed one. Bring a flashlight, your phone fully charged for photos and video, a notepad, and something to plug into outlets. Plan to spend at least 30 to 60 minutes - less time than that typically means details are being missed.
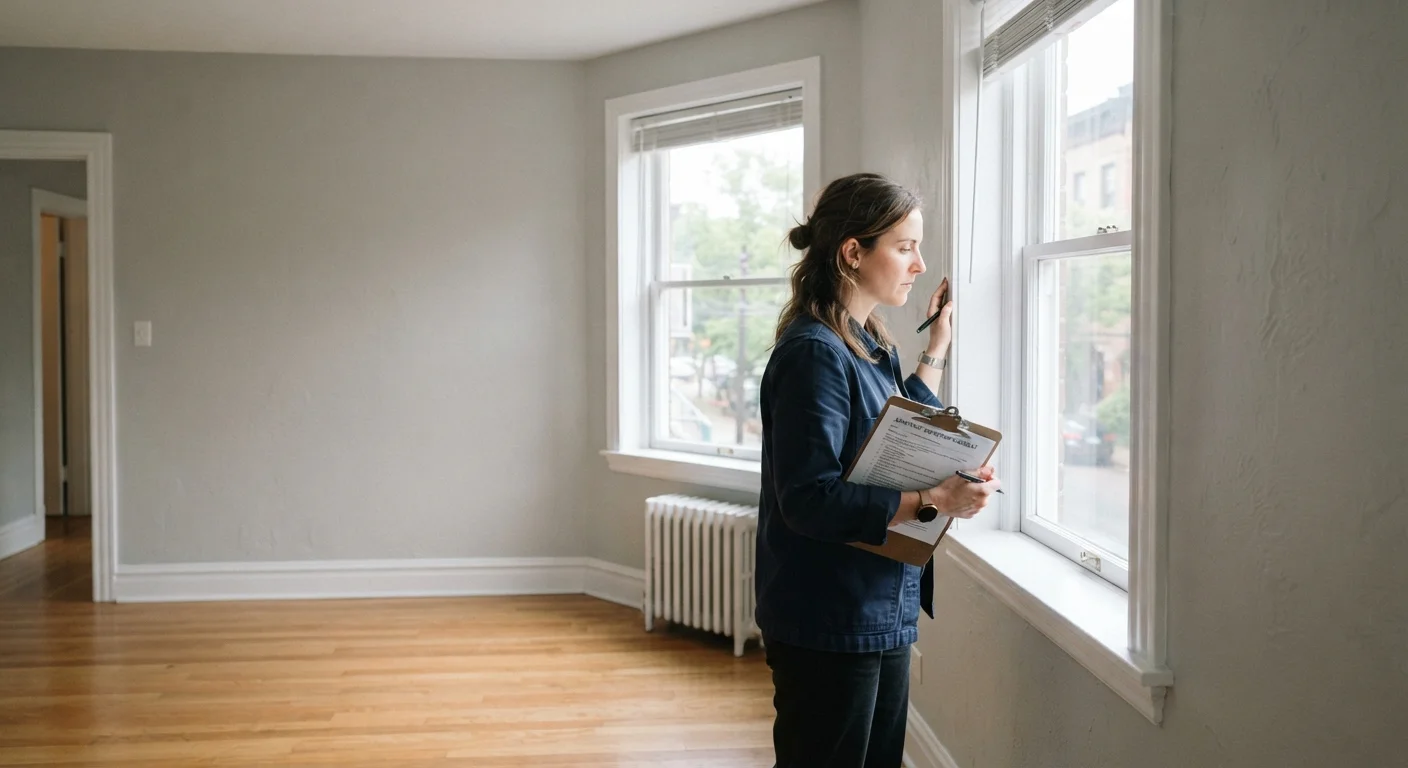
Walk through each room methodically rather than jumping between areas. Start at the front door and move clockwise through each space, finishing in the kitchen and utility areas. Ask the landlord or property manager to accompany you so any concerns can be flagged and acknowledged in real time.
Smartphone camera or video recorder
Capture timestamped photos and video of every room, documenting pre-existing damage before move-in.
Printed or digital checklist
Systematically work through each area of the apartment without missing any inspection points.
Small flashlight
Illuminate dark corners, under sinks, and inside closets to spot water damage or pest evidence.
Notepad and pen
Record condition notes in real time alongside photos for each checklist item.
Phone charger or small appliance
Test electrical outlets in each room to confirm they are functional.
The Full Apartment Walkthrough Checklist
Work through each group below systematically. For every issue you find, note the specific location (e.g., "south wall of bedroom, near baseboard"), photograph it with timestamps enabled, and record it on your inspection form. Minor cosmetic items matter just as much as major ones - a small stain or nail hole noted now cannot be charged to you later.
Walls, Floors & Ceilings
Doors, Windows & Locks
Kitchen & Appliances
Bathrooms
Utilities & Safety Features
Documentation & Sign-Off
Don't Sign Without Doing the Walkthrough First
Signing the lease before completing a documented walkthrough leaves you legally responsible for pre-existing damage you never caused. Schedule your walkthrough before or on the day you receive keys - never after you've already moved belongings in. Once the lease is signed and you've accepted the unit, disputing pre-existing damage becomes significantly harder.
Verbal Agreements Don't Hold Up in Disputes
If a landlord promises to fix something before you move in, get it in writing - either as an addendum to the lease or a signed email. Verbal commitments are nearly impossible to enforce, and issues left unresolved at move-in often surface as deposit deductions when you move out.
After the Walkthrough: Protecting Your Record
Completing the walkthrough is only half the job. Once you have your notes and photos, compile them into a single document - many landlords provide a standard move-in inspection form, but you can also create your own. List every issue room by room, cross-reference your photos, and request a co-signed copy before or on move-in day.
Store everything in a cloud folder you can access years later. When the time comes to move out, that same record becomes your primary defense against unfair charges. Our guide on moving out without losing your deposit walks through exactly how to use your move-in documentation at the end of your tenancy.
A well-documented walkthrough takes under an hour and can prevent weeks of dispute and hundreds - or thousands - of dollars in unwarranted deductions. Treat it as seriously as reviewing the lease itself.