

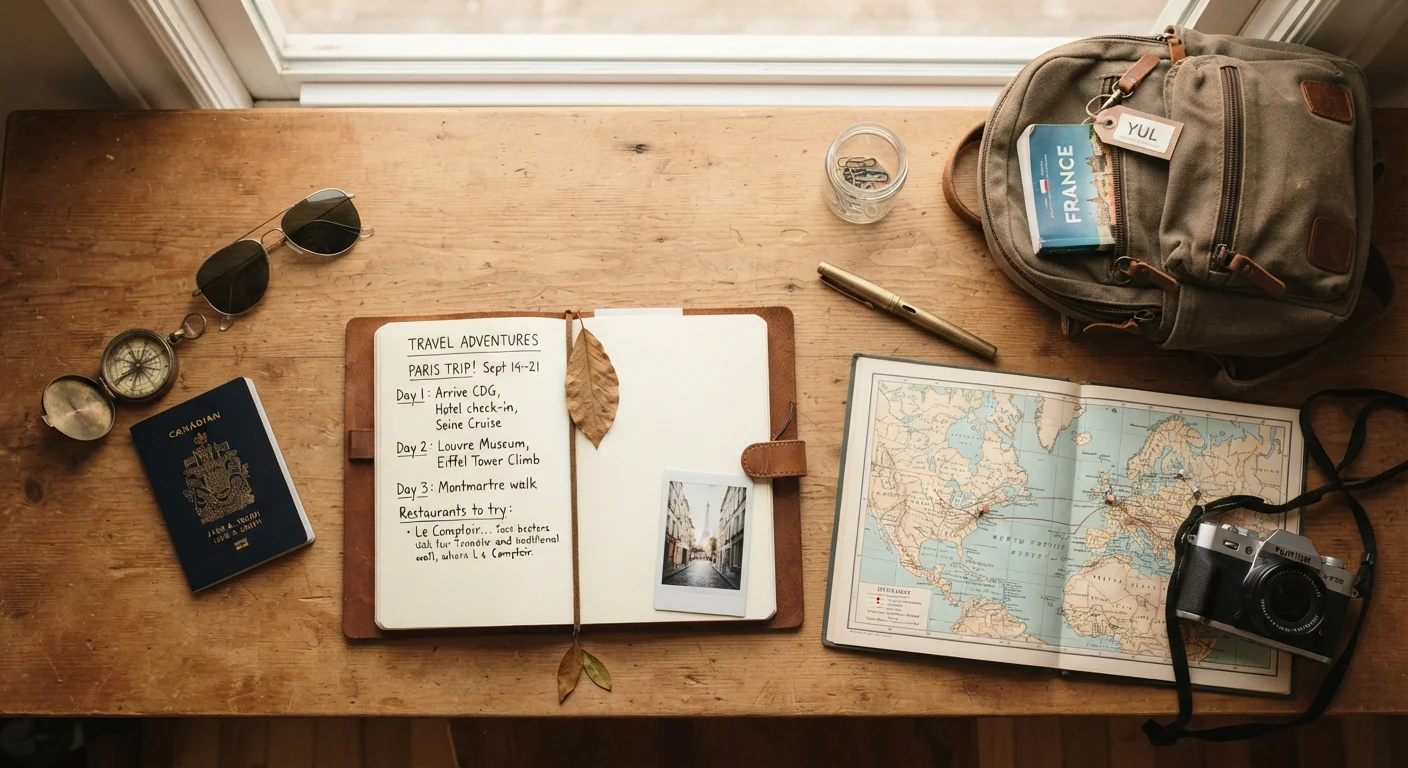
Step 1: Choose Your Destination
Every trip starts with a single question: where do you want to go? For first-time planners, narrowing this down can feel paralyzing. Start by asking three practical questions: How much time do you have? What's your general budget range? And what kind of experience are you after - relaxation, adventure, culture, or a mix?
Match ambition to reality. If you have a long weekend, a cross-country trip adds significant transit time and cost. A regional destination may actually deliver a richer experience in the time available. If this is your first trip outside the US, consider destinations with straightforward entry requirements and English-friendly infrastructure before tackling more logistically complex places. Our complete guide to planning an international trip covers what's involved when crossing borders.
Travel itinerary
A day-by-day plan of where you'll be and what you'll do during your trip. It can be detailed or loose, but its purpose is to keep your trip organized and ensure you don't miss anything important.
Travel advisory
An official government warning or notice about safety conditions, entry requirements, or health risks at a specific destination. In the US, these are published by the Department of State.
Contingency budget
A reserved portion of your travel budget - typically 10-15% - set aside to cover unexpected costs like a medical expense, a missed connection, or an unplanned activity.
Visa
An official authorization - usually a stamp or document - that allows you to enter a foreign country for a specific purpose and period. Requirements vary by destination and nationality.
Travel insurance
A type of insurance policy that can cover costs related to trip cancellations, medical emergencies abroad, lost luggage, or other unexpected travel disruptions.
Step 2: Set a Realistic Budget
Before you book a single thing, build a spending framework. A travel budget should account for all major categories: transportation to and from your destination, lodging, meals, activities, and a contingency reserve - typically 10-15% of your total estimated spend - for unexpected costs.
Research average costs for your destination using government tourism resources and general travel reference sites. Be honest about your spending style. A traveler who prefers sit-down restaurants will spend materially more on food than someone comfortable with casual or self-catered meals. Our step-by-step travel budget guide walks through how to estimate each category without guesswork. For ongoing ideas on keeping costs manageable, the Travel on a Budget hub is a useful ongoing reference.
Track Every Budget Category Before You Book
Open a simple spreadsheet and create a row for each spending category - flights, lodging, meals, activities, transportation, and buffer. Entering estimates before you commit to bookings gives you a clear view of whether your plan fits your means. Adjust categories rather than ignoring overruns.
Step 3: Book Transportation and Lodging
Once your destination and budget are set, secure your two largest commitments: how you're getting there and where you're staying. These two bookings define the structure of your entire trip.
For flights, compare departure times and layover lengths alongside price - a cheap red-eye with a long connection can cost you more in lost vacation time than it saves. For lodging, consider location first. Staying near the areas you most want to explore reduces both transit time and transportation costs. Hotels, vacation rentals, hostels, and bed-and-breakfasts each offer different trade-offs in privacy, cost, and amenity access. Research the neighborhood's safety and walkability as part of your evaluation.
If you're traveling with others, logistics change. See how solo and group trip planning differ to avoid common coordination pitfalls.
Step 4: Build Your Itinerary
An itinerary isn't a rigid hour-by-hour schedule - it's a planning tool that ensures you don't miss what matters most while leaving room to breathe. Start by listing every activity, attraction, or experience you want to include, then map them by location and day. Grouping nearby activities on the same day reduces transit time and travel fatigue.
Reserve any ticketed attractions, restaurants, or tours that require advance booking early. Leave at least one unscheduled block per day for spontaneity, rest, or unexpected discoveries. For a structured approach to daily planning, our guide on building a travel itinerary that actually works covers how to sequence your days without over-packing them.
Step 5: Handle Documents and Safety Prep
This step is often left too late. For domestic trips, confirm that any required ID is current and accessible. For international travel, verify that your passport is valid for at least six months beyond your return date - many countries enforce this requirement. Check visa requirements through the U.S. Department of State's official website and the destination country's embassy well in advance, as processing times vary.
Research your destination's current travel advisories at travel.state.gov. Consider travel insurance that covers trip cancellation, medical emergencies, and evacuation, particularly for international or remote destinations. Our Travel Safety & Health hub offers guidance on staying prepared on the road. If traveling solo, also review how to build situational awareness as a solo traveler.
Don't Leave Document Checks Until the Last Minute
Passport renewals through the U.S. State Department can take several weeks, and expedited processing still requires lead time. If your passport is expired or expiring within six months, start the renewal process as soon as you have a travel date in mind. Visa applications for certain destinations can take equally long and often require in-person appointments.
Step 6: Pack Smart and Confirm Details
Packing well is less about having everything and more about having the right things. Build your packing list around activities, weather, and trip length - not fear of forgetting something. As a rule, if you're unsure whether you'll need it, you probably won't. Overpacking makes travel physically harder and limits flexibility.
In the final 48-72 hours before departure, run a confirmation sweep: check that all reservations are correct, download offline maps or itineraries to your phone, notify your bank of travel dates, and arrange for home care if needed. Our pre-trip checklist gives you a structured, item-by-item review to complete before you lock the door.
This article provides general travel planning information for educational purposes. Always verify entry requirements, travel advisories, and health recommendations with official government sources before traveling.