
Why Driveway Material Matters for Maintenance
Not all driveways age the same way. A concrete slab reacts to freeze-thaw cycles differently than a wood-plank surface, and composite panels have their own vulnerabilities that neither wood nor concrete shares. Understanding what your driveway is made of is the first step toward a maintenance routine that actually works.
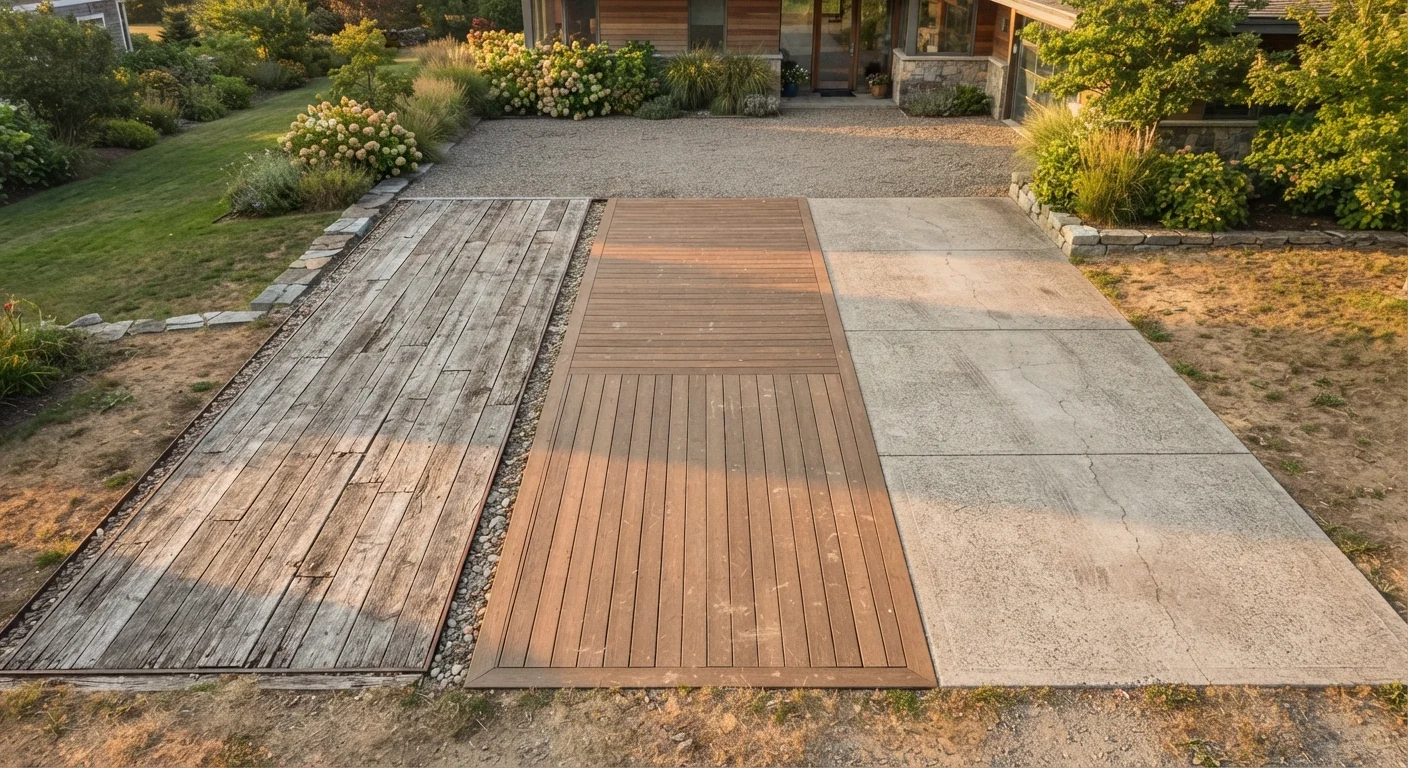
This guide focuses on three less common but increasingly popular driveway surfaces: natural wood (typically pressure-treated timber), composite (engineered wood-plastic or fiber-cement panels), and concrete. If your home has a standard asphalt driveway, the care steps differ significantly - asphalt has its own sealing and patching requirements.
Wood Driveways Are Less Common - But Not Rare
Wood driveways are more prevalent in wooded or rural settings, on steep slopes where other materials are impractical, or on properties with a specific design aesthetic. They're also used for secondary paths and side entries rather than main vehicle driveways. If your surface is pressure-treated lumber or hardwood timber, the guidance in this section applies directly.
Maintaining a Wood Driveway
Natural wood driveways - often seen on sloped lots or properties with a rustic aesthetic - require the most hands-on upkeep of the three surfaces. Wood is porous and absorbs moisture, which leads to swelling, warping, cracking, and eventually rot if left unprotected.
Seal natural wood driveways every one to two years with a penetrating water-repellent preservative.
Unsealed wood absorbs moisture rapidly, accelerating rot, warping, and mildew growth. Regular sealing extends the functional life of the surface significantly and maintains its appearance.
Inspect wood boards individually each season for soft spots or visible decay and replace damaged pieces promptly.
Rot spreads from plank to plank through shared moisture and contact. Catching and removing a single compromised board prevents the deterioration from becoming structural.
Clean composite driveway surfaces with mild soap and a soft brush rather than a high-pressure washer.
High water pressure can erode the surface texture of composite panels and push moisture into the sub-base, undermining the structural stability of the installation.
Fill concrete cracks under a quarter inch wide promptly with a compatible concrete filler product.
Small cracks allow water to penetrate the slab. During freeze-thaw cycles, that water expands, widening the crack and potentially undermining the sub-base over time.
Apply a concrete sealer every two to three years, or annually in regions with heavy road salt use.
Sealing protects the concrete surface from moisture intrusion, staining, and the corrosive effects of de-icing salts, which cause surface spalling and accelerate deterioration.
The most important annual task is cleaning and resealing. Use a low-pressure washer or stiff bristle brush to remove debris, algae, and mildew, then allow the surface to dry fully before applying a penetrating wood sealer or water-repellent preservative. Check the manufacturer's guidance for your specific wood species, as some timbers - like redwood or cedar - have natural oils that affect how they absorb sealers.
Inspect individual boards or planks each spring for soft spots, which indicate rot. Replacing a single plank costs a fraction of what you'd pay to replace structural sections. Also check the fasteners: stainless steel or hot-dipped galvanized hardware resists corrosion best. If you notice rust streaking on the wood surface, it's often a sign the original fasteners weren't rated for exterior use.
Homes in wet climates or heavily shaded areas should plan on cleaning twice per year rather than once, since moss and algae establish faster in those conditions.
Maintaining a Composite Driveway
Composite driveway surfaces - made from a blend of recycled wood fiber and plastic, or fiber-cement panels - are marketed as low-maintenance, and for the most part that's accurate. However, "low-maintenance" doesn't mean "no maintenance."
The primary upkeep task is routine cleaning. Mild soap and water, applied with a soft brush or low-pressure hose, remove dirt and organic staining effectively. Avoid high-pressure washing, which can erode the surface texture or force water under panel edges. Most composite surfaces are fade-resistant but not fade-proof, so check your product documentation for any UV-protective coatings that may need reapplication over time.
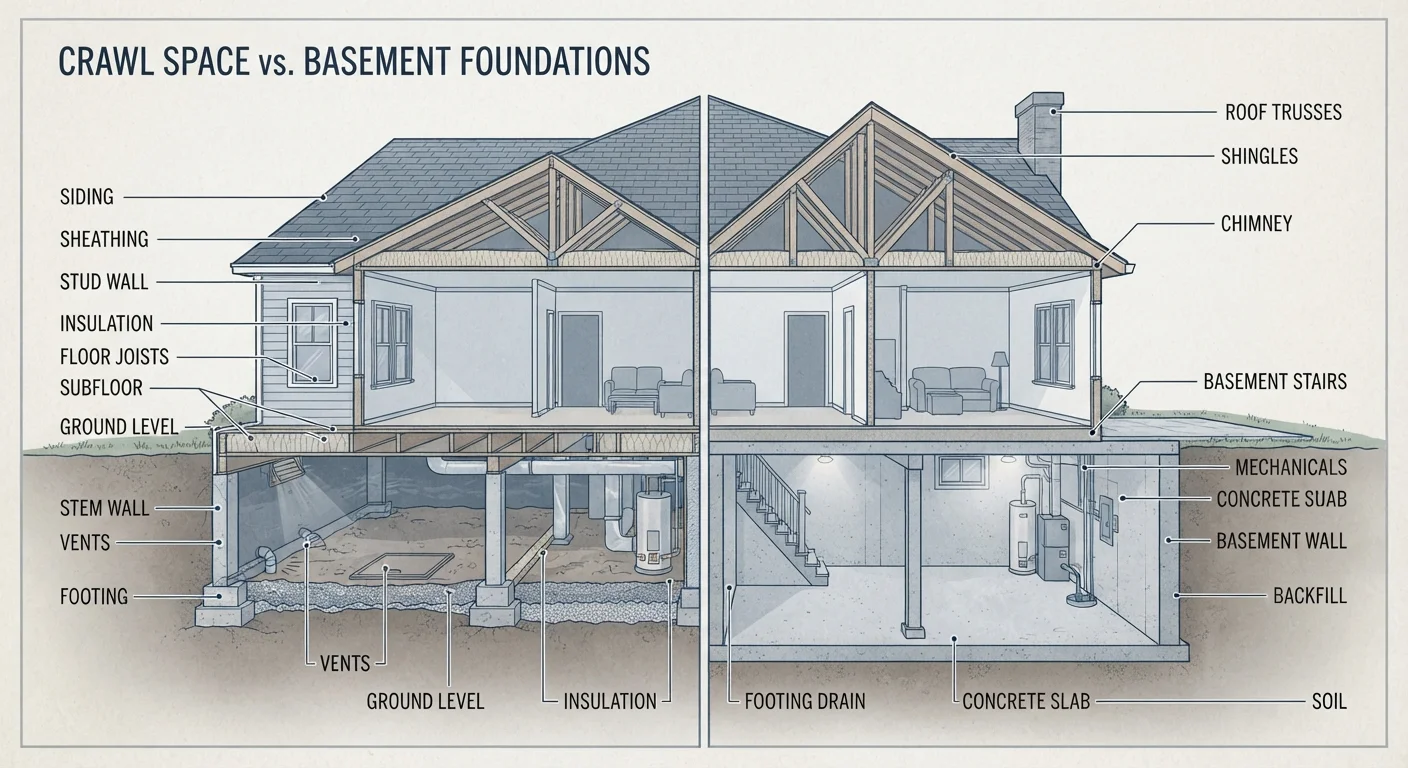
The structural weak point in composite driveways is the joints and substrate underneath. Check annually that panels haven't shifted, lifted, or developed gaps at the edges - water infiltrating the substrate can cause heaving or subsidence over time. This is especially important in regions with significant ground movement or frost heave. If sections feel spongy underfoot, investigate the sub-base before the problem spreads. For similar reasons that a home's foundation type shapes your moisture management, the base material under your composite driveway determines how well it holds up over time.
Maintaining a Concrete Driveway
Concrete is one of the most durable driveway surfaces available, but it still requires periodic attention. Its main enemies are water infiltration, freeze-thaw expansion, and surface staining from oil, rust, or organic material.
2-3 years
Recommended concrete sealer reapplication interval
General guidance from concrete and masonry trade associations; may be shorter in high-traffic or salt-exposed driveways.
Up to 50%
Potential cost savings from preventive driveway maintenance vs. full replacement
Industry estimates from home improvement research consistently show early repair costs a fraction of full surface replacement.
Clean concrete driveways annually using a concrete cleaner or degreaser for oil stains, then rinse thoroughly. Avoid chlorine bleach on decorative or stamped concrete, as it can strip color sealers. A pressure washer at moderate settings works well for general cleaning, but hold the nozzle at least 12 inches from the surface to avoid etching.
Sealing is the most protective step you can take. A quality concrete sealer creates a barrier against moisture, road salt, and staining. Most sealed concrete driveways benefit from resealing every two to three years, though this varies based on traffic, sun exposure, and climate. In northern states where road salt is used heavily, annual inspection and sealing are worth prioritizing - salt accelerates surface spalling (flaking or pitting of the top layer).
Crack repair deserves immediate attention. Small cracks - under a quarter inch wide - can typically be filled with a concrete crack filler. Larger or growing cracks may signal a sub-base issue and warrant a professional assessment before the problem spreads. Similarly, if you notice significant seasonal shifts in your vehicle's handling in icy conditions, the surface type beneath your tires matters as much as the driver's response.
Time Sealing for Dry, Mild Weather
Apply concrete sealer when temperatures are between 50°F and 90°F and no rain is forecast for at least 24 hours. Sealer applied in damp or freezing conditions won't bond properly and will peel prematurely. If you're in a climate with short dry windows, plan sealing for late summer or early fall.
Building a Maintenance Calendar
Regardless of which surface you have, the most effective strategy is a simple, recurring schedule - not reactive repairs after visible damage. Here's a general framework:
- Spring: Inspect the full driveway surface after winter. Look for cracks, lifted sections, rotted boards, or shifted panels. Clean away debris and organic growth.
- Summer: Apply sealers or stains during dry, moderate-temperature weather for best adhesion and cure time.
- Fall: Clear leaves and organic debris before they break down and stain the surface. Check drainage paths to ensure water isn't pooling.
- After storms: Remove standing water quickly and note any new damage before it develops.
Consistent small efforts preserve driveway materials far longer than periodic intensive repairs. Whether you're managing the natural wood of your entry path, composite panels on a side drive, or a concrete apron leading to your garage, the principle is the same: routine attention prevents the kind of deterioration that turns a manageable repair into a full replacement.