
Why a Pre-Trip Check Matters
Most highway breakdowns don't come out of nowhere. A slow tire leak, low coolant, or a brake pad worn past its limit are all detectable before you leave the driveway - if you look. A structured safety check takes less than an hour and dramatically reduces your exposure to roadside emergencies, especially on long stretches between service areas.
This checklist is organized by vehicle system so you can work through it methodically. If your car has more than 100,000 miles on it, pay extra attention - see our maintenance guide for high-mileage vehicles for the additional items worth monitoring.
Tires
Brakes
Fluids
Lights and Electrical
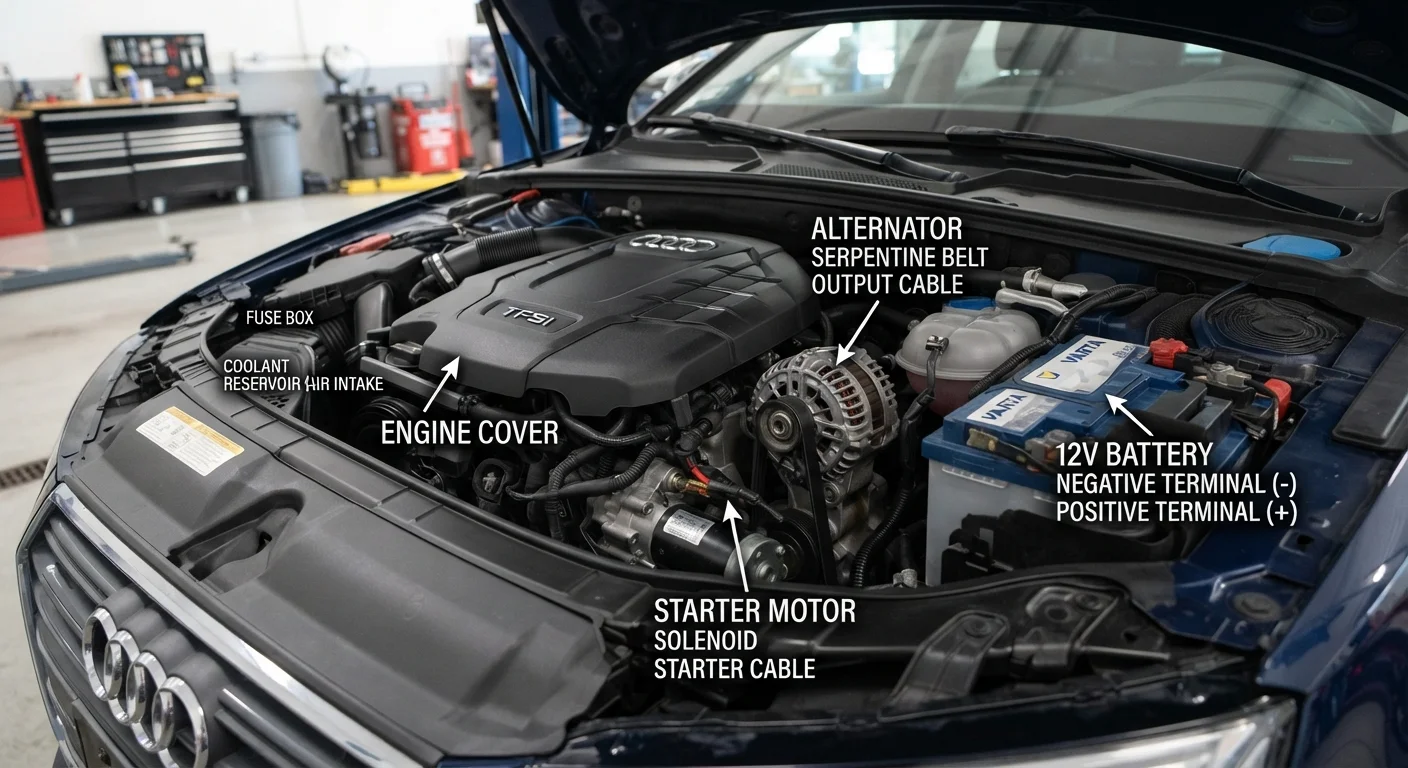
Under the Hood
Emergency Gear
Tools and Resources to Have Ready
You don't need a mechanic's toolbox to run through this checklist, but a few basic items make it faster and more accurate. Keep these on hand before you start your inspection.
Tire Pressure Gauge
Measures PSI in each tire so you can inflate to the vehicle manufacturer's recommended level.
Flashlight or Headlamp
Lets you inspect under the hood, underneath the vehicle, and inside the wheel wells clearly.
Clean Lint-Free Rag
Used to wipe the oil dipstick and any fluid reservoir caps before and after checking levels.
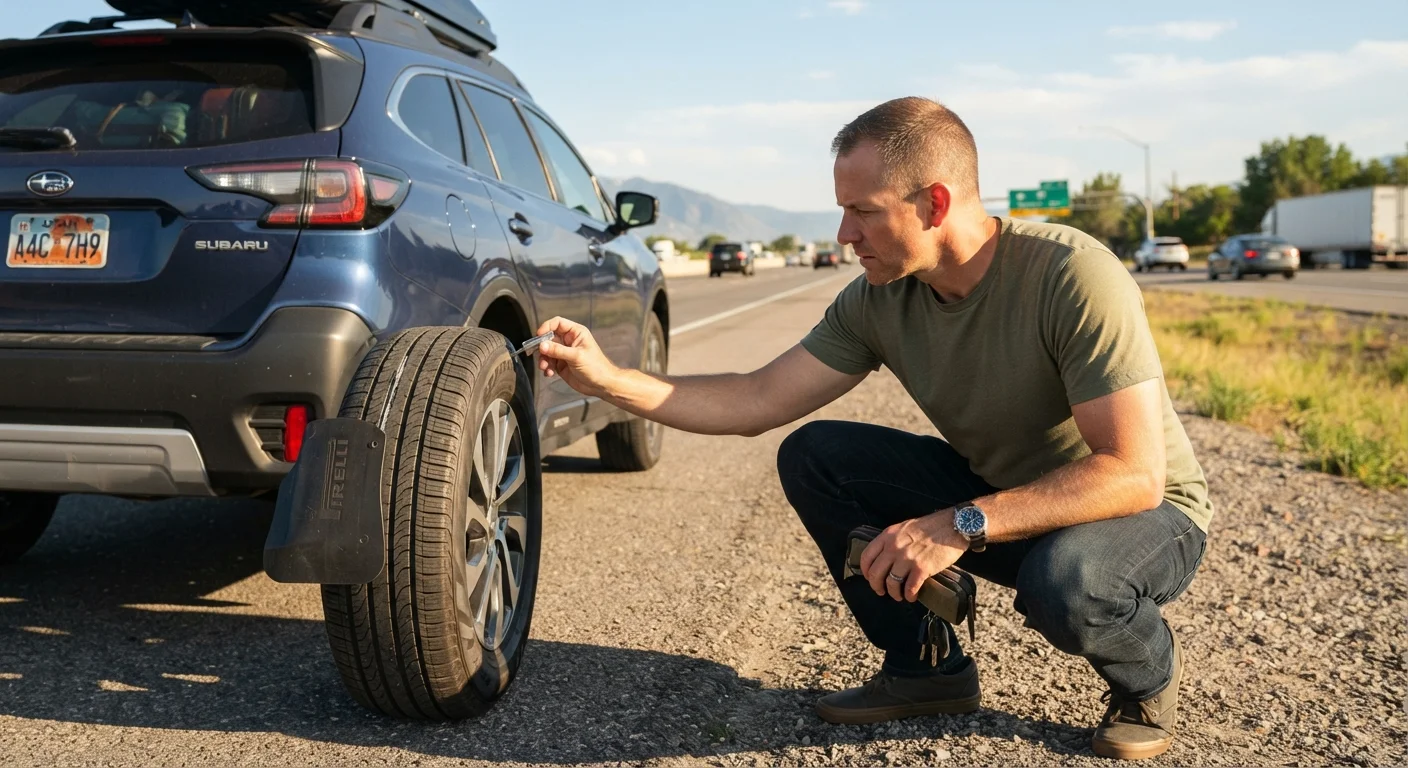
Tread Depth Gauge
Provides an accurate measurement of remaining tire tread; a penny can work as a rough alternative.
OBD-II Scanner
Reads diagnostic trouble codes if your check engine or other warning light is active.
If any check reveals a potential problem - an illuminated warning light in particular - don't guess at the cause. Our guide on what your check engine light is actually telling you walks through when it's urgent and what to do next.
Don't Ignore Active Warning Lights
A dashboard warning light that appeared recently should be diagnosed before a long trip, not after. Some lights - particularly those related to brakes, oil pressure, or engine temperature - can indicate conditions that worsen quickly under highway driving. Have the vehicle inspected by a qualified mechanic if you're unsure of the cause.
Before You Pull Out of the Driveway
Once you've completed your vehicle inspection, take five minutes to confirm a few non-mechanical items. Make sure your license, registration, and proof of insurance are in the car. Share your route and expected arrival time with someone you trust. If you're planning a multi-day drive, learn the warning signs of highway hypnosis and driver fatigue before you hit monotonous stretches of road - it's a risk many drivers underestimate.
For a broader pre-departure checklist that covers documents, bookings, and home prep, see your pre-trip checklist before leaving home. Safe travels start before the engine turns over.
Brake Problems Should Be Inspected Immediately
If your brake check reveals any abnormal sounds, pedal feel, or fluid loss, do not defer service until after your trip. Brakes are the single most critical safety system on your vehicle, and highway driving at speed significantly increases stopping distances. A qualified mechanic should evaluate brake concerns before departure - not as a return item.