
Why Sunday Prep Changes the Whole Week
The biggest obstacle to eating well on weeknights isn't motivation - it's friction. When you're hungry, tired, and pressed for time, reaching for whatever's fastest is a natural response. Meal prep works by eliminating that friction in advance, during a time window - typically Sunday afternoon - when the pressure is off.
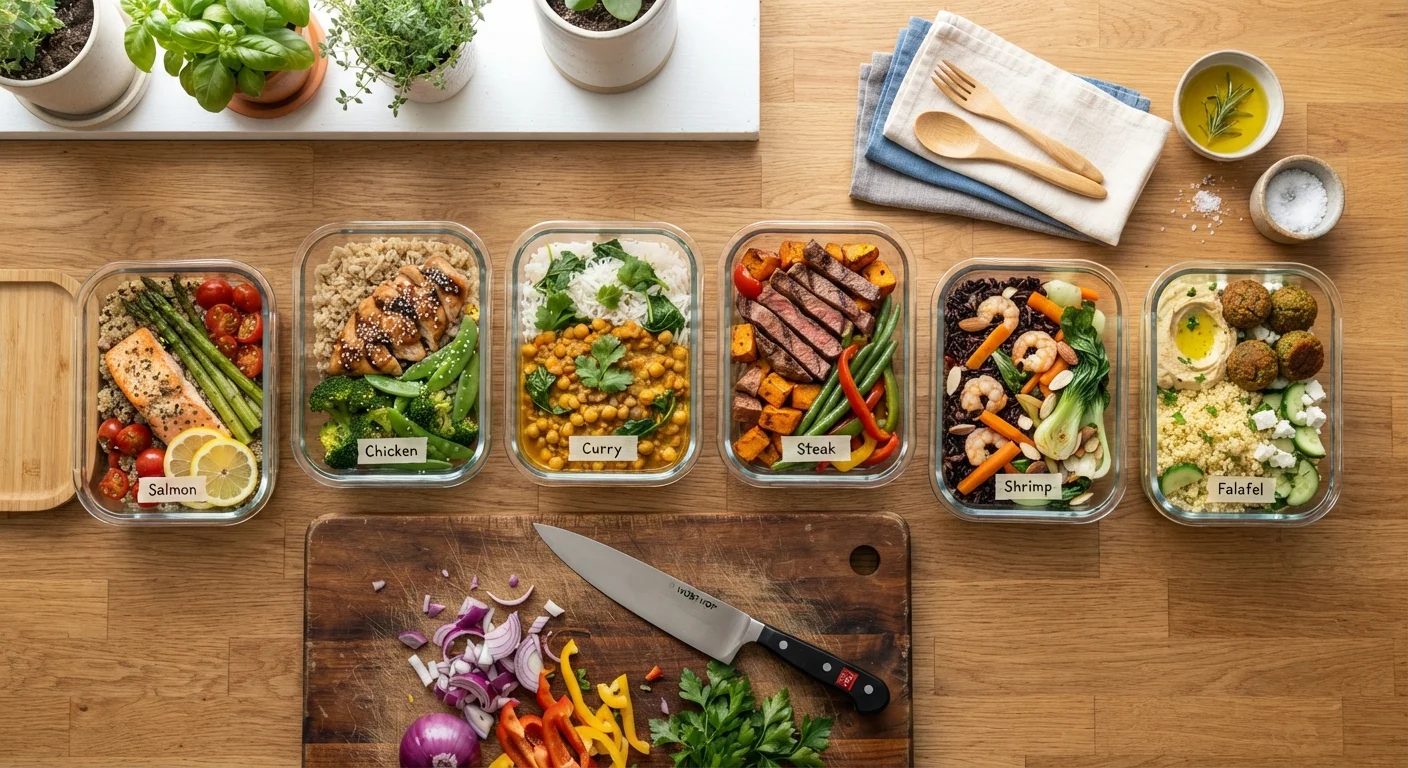
The approach doesn't require culinary expertise or hours of elaborate cooking. The core idea is simple: cook a handful of versatile components in bulk, store them properly, and spend the rest of the week assembling rather than cooking from scratch. This is fundamentally different from batch-cooking complete meals, which can feel repetitive. When you prep components - a cooked grain, a roasted vegetable, a cooked protein - you retain daily flexibility while cutting active weeknight cook time to minutes.
If you're just beginning to think about how nutrition fits into your daily routine, this introduction to balanced eating offers useful context before diving into the prep process. And for navigating the grocery store with a nutrition-conscious list in hand, shopping with nutrition in mind can help you bring the right ingredients home.
What you will need
What to Prep and What to Skip
Not everything benefits from advance preparation. Foods like leafy salad greens, avocado, and delicate fresh herbs are best prepared day-of. What does improve with advance prep are the time-intensive, workhorse components: whole grains (brown rice, farro, barley), legumes (lentils, chickpeas, black beans), roasted root vegetables, cooked proteins, and sliced raw vegetables for snacking or stir-fries.
Sheet pans (half-sheet size)
Roasting vegetables and proteins evenly in the oven - one pan per ingredient keeps flavors separate.
Large lidded pot
Cooking big batches of grains like rice, farro, or lentils in one go.
Airtight storage containers (assorted sizes)
Storing prepped components safely in the refrigerator or freezer to maintain freshness.
Kitchen scale
Portioning proteins and grains consistently, especially useful for households tracking intake.
Instant-read thermometer
Confirming proteins reach a safe internal temperature during cooking.
Labeling tape and marker
Dating and labeling containers so you always know what was prepped and when.
A practical beginner's batch typically covers three to four of these categories. As your routine matures, you can expand the scope - but starting lean is more sustainable than over-committing on day one. The Cooking Skills hub offers deeper techniques to refine your prep once you have the fundamentals down.
Start Smaller Than You Think You Should
First-time meal preppers often over-plan and under-deliver, leaving the fridge full of food that doesn't get used. Start with just two components - one grain and one protein - and build from there over subsequent weeks. A small successful session builds more lasting habits than an ambitious one that exhausts you.
Following the Steps and Staying Consistent
The steps below walk through a complete Sunday prep session from planning through storage. Each step is designed to be done in sequence, though experienced preppers will find they can parallelize several stages once the approach feels familiar.
Consistency matters more than perfection. A partial prep session - even if you only get grains and one protein done - is still a meaningful reduction in weeknight effort. Over time, the habit builds momentum: you'll develop a mental shortlist of your household's go-to components and stop needing to plan from zero each week.
Build your weekly meal map
Before touching a pan, spend 15 minutes sketching out what you actually want to eat this week. You don't need a rigid schedule - just a rough picture of how many lunches and dinners you need covered. Identify two or three protein sources, one or two grains, and three or four vegetables you enjoy. This map becomes your shopping list and your prep checklist. If you haven't yet thought through what a balanced plate looks like, this practical nutrition primer is a useful starting point.
Stock your pantry before the session
Great meal prep relies on a foundation of reliable pantry staples - olive oil, canned legumes, vinegars, spices, and dry grains that extend whatever fresh ingredients you buy. Do a quick pantry audit before shopping. A well-stocked pantry means that even if fresh produce runs out Thursday, you can still pull together a complete meal. Cross-reference your meal map against what you already have to avoid buying duplicates.
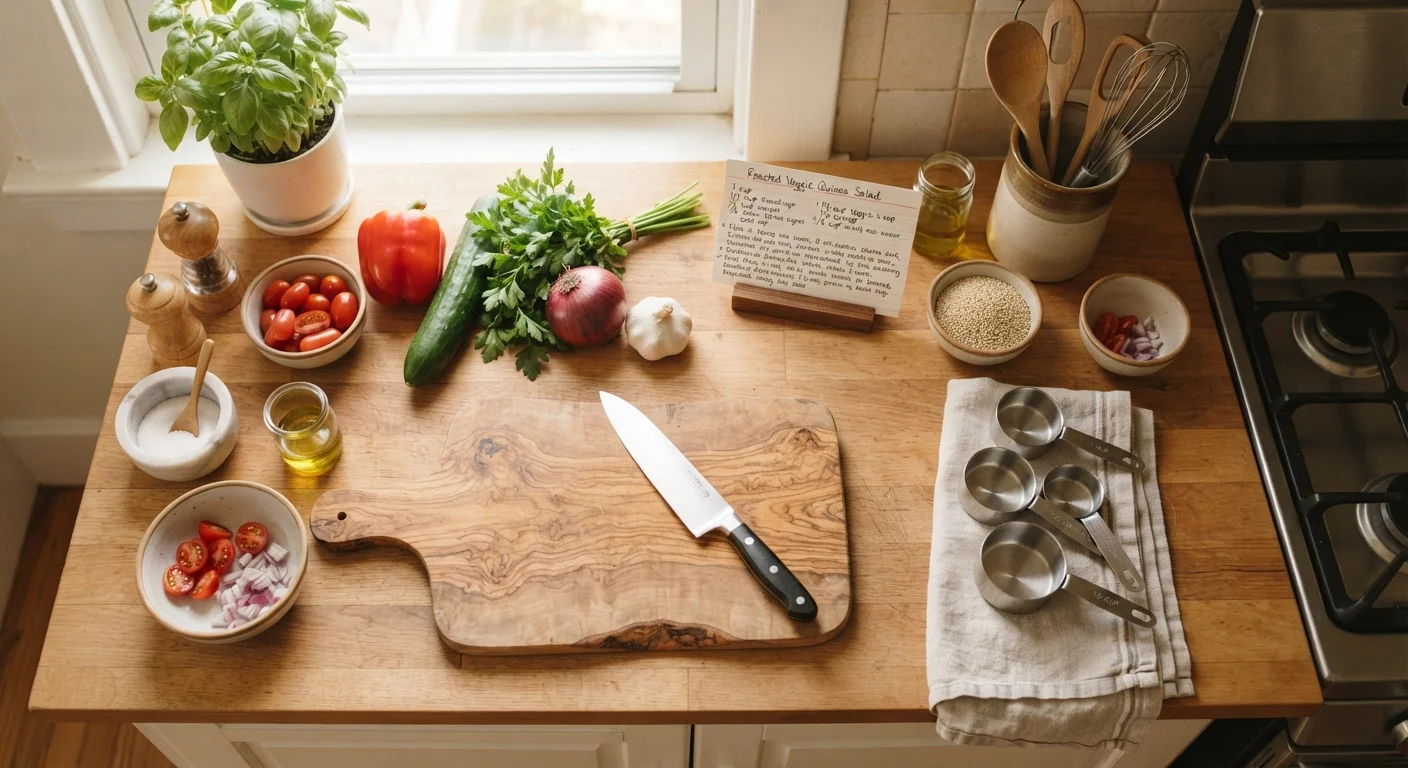
Set up your workspace before you cook
Clear your counter, set out all containers, and gather every ingredient before turning on the heat. This mise en place approach - French for "everything in its place" - dramatically reduces errors and stress. Run through a quick mental checklist: Are all ingredients washed? Is the oven preheating? Do you have enough containers for each component? For a more complete pre-cook routine, see this pre-meal checklist.
Cook proteins, grains, and vegetables in parallel
Batch cooking is most efficient when you run multiple tasks simultaneously. A common sequence: start a pot of grains on the stove, slide a sheet pan of vegetables into the oven, then cook your protein on the stovetop or a second sheet pan. Keep each component plain and lightly seasoned - you'll add sauces and dressings when assembling meals, which keeps stored food from getting soggy. Cook proteins to safe internal temperatures: 165°F for poultry, 145°F for fish and whole cuts of pork and beef.
Cool, portion, and store everything properly
Food safety depends on cooling cooked food quickly. Spread hot items in a single layer on sheet pans to cool at room temperature for no more than two hours before refrigerating. Portion into individual containers by meal type or by component - whichever suits your workflow. Label every container with the contents and the date. Most cooked proteins and grains stay safely refrigerated for up to four days; cooked vegetables typically last three to five days. Freeze anything you don't expect to use within that window.
Mix and match components throughout the week
The goal of batch cooking isn't to eat the same meal five days in a row - it's to give yourself ready-made building blocks that combine into variety. Monday's grain bowl becomes Tuesday's stuffed wrap; Wednesday's roasted vegetables become a frittata filling. Keeping sauces, dressings, and spice blends on hand lets you shift flavor profiles without cooking from scratch. This is where smart prep habits pay off - a calm, planned cook mid-week is far more likely to eat well than one scrambling at 6 p.m.
Food Safety Is Non-Negotiable
Cooked food left at room temperature for more than two hours enters the bacterial danger zone (40°F-140°F). Always cool food promptly, refrigerate within two hours, and discard anything whose date you're uncertain about. When in doubt, throw it out - a discarded container costs far less than foodborne illness.
For a deeper look at the organizational habits that support calm, efficient cooking beyond just prep day, these prep-work habits are worth reading alongside this guide.