
Why Composting Is Worth the Effort
Every time you toss a banana peel or a pile of coffee grounds in the trash, you're discarding something your garden could genuinely use. Composting is the process of allowing organic materials to break down into a dark, crumbly, nutrient-rich material called humus - one of the most effective soil amendments available to home gardeners.
Beyond the garden benefits, composting diverts a meaningful portion of household waste from landfills, where organic matter decomposes without oxygen and produces methane. At home, managed decomposition happens aerobically, which is far less impactful on the environment.
If you're building or improving a growing space, pairing homemade compost with a solid understanding of what's already in your ground goes a long way. The article Soil Health 101: What Your Garden Is Actually Growing In explains how organic matter fits into the broader picture of garden soil science.
What you will need
What to Add - and What to Avoid
Compost works through the interplay of two ingredient categories:
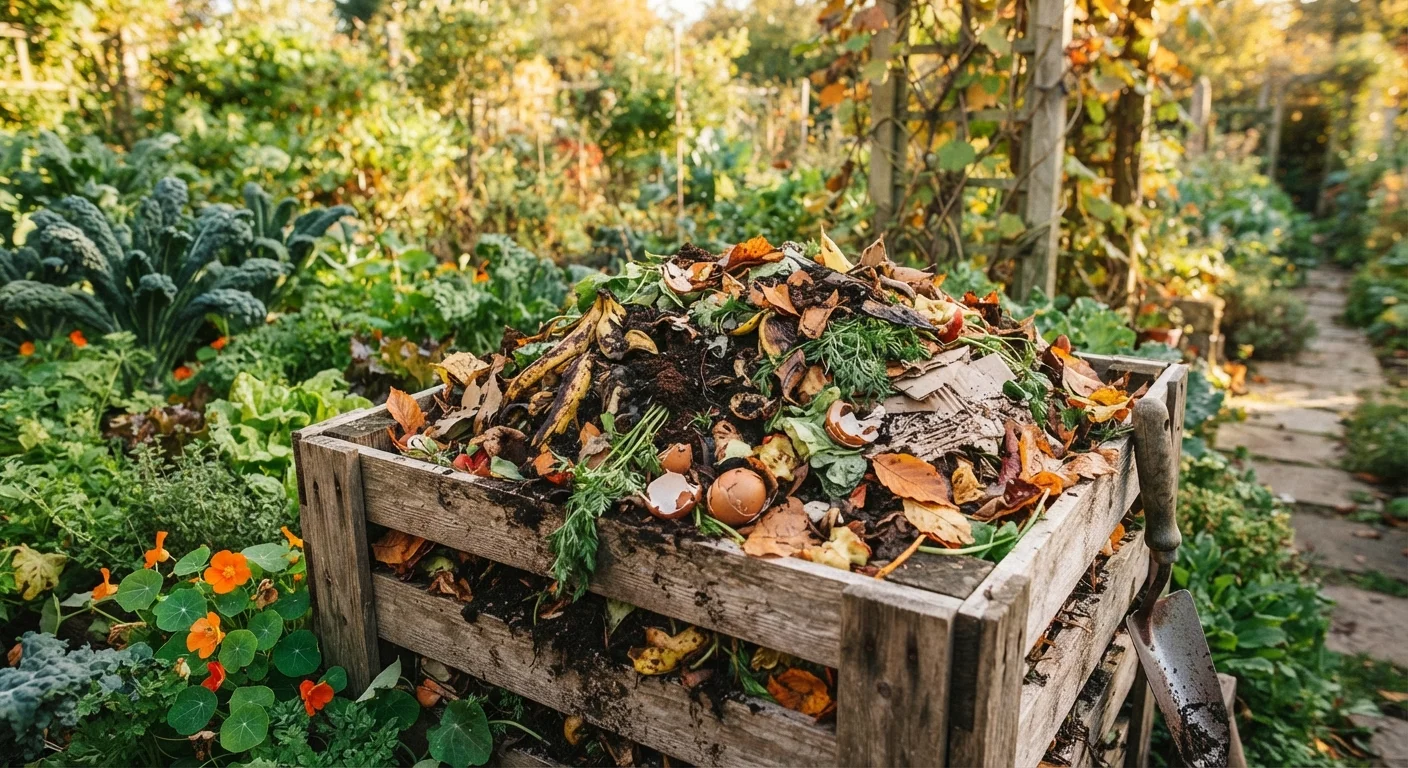
- Greens (nitrogen-rich): Fruit and vegetable scraps, coffee grounds and filters, tea bags (remove staples), fresh grass clippings, and plant trimmings.
- Browns (carbon-rich): Dry leaves, cardboard torn into pieces, paper bags, straw, wood chips, and newspaper.
A healthy pile needs roughly two to three parts browns for every one part greens by volume. Too many greens and the pile turns slimy and smelly; too many browns and decomposition slows dramatically.
Never Compost These Materials
Meat, dairy, fish, pet waste, diseased plant material, and anything treated with herbicides or pesticides should never go into a home compost bin. These items can introduce pathogens, attract pests, or leave harmful chemical residues in the finished compost you'll later apply to food-producing plants.
Keep the following out of a home compost bin: meat, fish, bones, dairy products, oily or fatty foods, pet waste, diseased plants, and anything treated with pesticides. These materials either attract pests, introduce harmful pathogens, or disrupt the microbial environment needed for healthy decomposition.
Your kitchen already generates a steady supply of compostable material - vegetable peels, eggshells, fruit rinds, and spent herbs are all excellent additions. If you're looking for ways to reduce overall kitchen waste further, exploring practical cooking techniques can help you use more of what you buy.
Setting Up and Managing Your Compost System
Below are the steps to build a functioning home compost system from scratch. Whether you use a purchased bin, a DIY wooden frame, or a simple open pile will depend on your space and preferences - all three approaches work.
Choose Your Composting Method
Select a setup that matches your space and the volume of material you generate:
- Open pile: Simple and low-cost; best for larger yards with steady access to yard waste.
- Wire or wooden bin: Keeps the pile contained and tidy; easy to build from reclaimed lumber or wire mesh.
- Tumbler: A sealed drum that rotates; faster in warm weather and more pest-resistant, but holds less material.
- Worm bin (vermicomposting): Ideal for small spaces or apartments; uses red wiggler worms to process kitchen scraps indoors or on a covered porch.
Choose the Right Location
Site your compost bin or pile in a spot that is:
- Convenient enough that you'll actually use it - close to the kitchen door helps.
- Partially shaded to prevent the pile from drying out too quickly in summer.
- Set on bare soil or grass (not concrete) so beneficial organisms like worms and microbes can migrate up into the pile.
- At least a few feet away from wooden fences or the exterior of your home to allow airflow and reduce pest risk.
Start Layering Your Materials
Begin with a base layer of coarse browns - small sticks, wood chips, or torn cardboard - about 4-6 inches deep. This promotes drainage and airflow from the bottom. Then alternate layers:
- A 2-3 inch layer of greens (kitchen scraps, fresh clippings)
- A 3-4 inch layer of browns (dry leaves, paper, cardboard)
- A thin sprinkle of finished compost or garden soil to introduce microbes
Repeat these layers as you accumulate material rather than adding everything at once.
Maintain Moisture and Airflow
A healthy compost pile should feel like a wrung-out sponge - consistently moist but not waterlogged. Check moisture levels every week or two:
- If the pile is too dry, sprinkle water over it or add more greens.
- If it smells sour or is soggy, it needs more browns and turning.
Turn the pile with a fork every one to two weeks, moving material from the outside edges toward the center. This reintroduces oxygen, which speeds up decomposition and prevents unpleasant odors.
Recognize When Compost Is Ready
Finished compost looks and smells like rich, dark earth - not like the original materials. Signs it's ready to use:
- Dark brown or black color throughout
- Crumbly, soil-like texture
- Earthy smell (not rotting or sharp)
- No recognizable food scraps or plant material visible
Under active management, most home piles reach this stage in two to four months in warm weather. A less-managed pile may take four to six months or longer.
Speed Up Decomposition Naturally
Warm temperatures, smaller particle sizes, and frequent turning are the three most reliable ways to accelerate composting. In cooler months, insulating the outside of the bin with straw bales or burlap can help retain heat and keep decomposition moving through fall.
Once your compost is ready, the uses are wide-ranging: mix it into garden beds before planting, use it as a top dressing around established plants, blend it into potting mixes for containers, or apply it as a light mulch. For more ideas on how finished compost fits into a productive garden year-round, see the Seasonal Garden Maintenance guide.