
Why Home Improvement Feels Overwhelming at First
Most new homeowners feel a gap between the ambition to improve their home and the confidence to actually do it. That gap is normal - and it closes faster than most people expect once they understand how home improvement actually works in practice.
The key insight is that home improvement is a spectrum. At one end: simple cosmetic tasks anyone can learn in an afternoon. At the other: complex structural or systems work that requires licensed professionals by law. Most homeowners operate somewhere in the middle, gradually expanding their skills project by project.
Before diving into projects, it also helps to understand your home's fundamental systems - heating, plumbing, electrical - so you can recognize when something needs attention. Our introduction to maintaining a house covers those foundations well and pairs naturally with this guide.
Scope creep
When a project gradually expands beyond its original plan during work, often leading to higher costs and longer timelines than expected.
Load-bearing wall
A wall that supports the weight of the structure above it. Removing or modifying one without proper engineering can compromise the building's stability.
Permit
Official approval from your local government to perform certain types of construction or renovation work. It ensures the work meets building code and will be inspected.
Contingency budget
A reserved portion of your project budget - typically 15-20% - set aside to cover unexpected costs that arise during the work.
PPE (Personal Protective Equipment)
Safety gear worn to protect against injury during physical work. In home improvement this typically includes safety glasses, gloves, hearing protection, and dust masks.
Non-contact voltage tester
A handheld tool that detects whether electrical current is present without touching a wire. Used to confirm power is off before working near electrical components.
Building Your Starter Toolkit
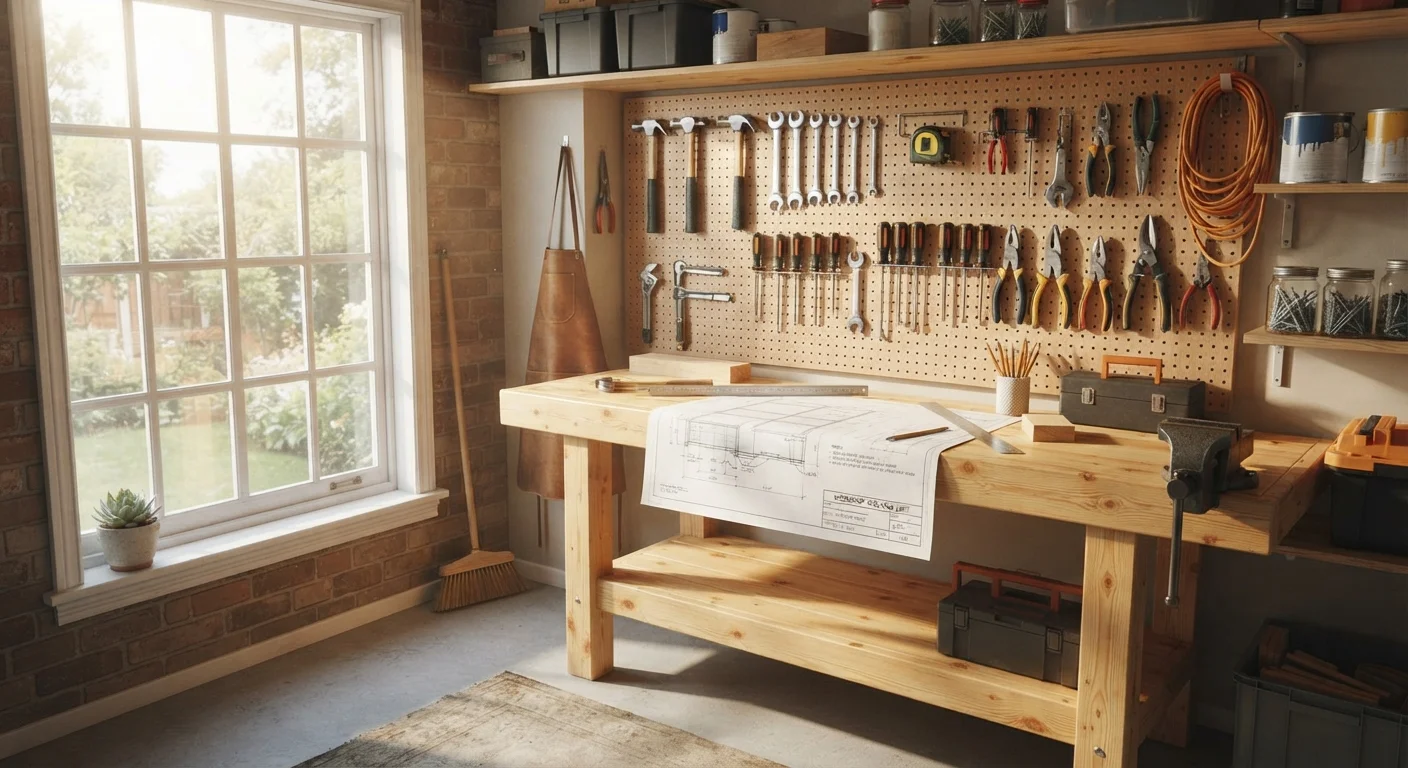
You don't need a fully stocked workshop to handle beginner projects. A focused starter toolkit covers the vast majority of what a new homeowner will realistically tackle in the first year or two.
- Tape measure - 25-foot is the most versatile length for indoor use.
- Hammer - a 16 oz. claw hammer handles most nailing and minor demo work.
- Cordless drill/driver - arguably the single most useful power tool for beginners.
- Level - a 24-inch level keeps shelves and frames straight.
- Utility knife - useful for scoring, trimming, and opening materials.
- Combination square - helps mark accurate right angles on wood and drywall.
- Pliers and adjustable wrench - essential for basic plumbing tasks and hardware.
- Stud finder - critical before drilling into walls to mount anything heavy.
Prioritize quality on tools you'll use constantly. For specialty items you'll use once or twice, consider renting from a local hardware store rather than buying.
Rent Before You Buy Specialty Tools
Many hardware stores and home improvement centers offer tool rental programs. If a project calls for a specialized tool you're unlikely to use again - like a tile saw or floor sander - renting saves money and storage space. Ask about rental programs before purchasing anything you'd use only once.
Planning a Project Before You Pick Up a Tool
Experienced DIYers spend more time planning than actually working - and that ratio is part of why their projects go smoothly. Good planning prevents the most common and costly beginner mistakes.
For any project, define three things in writing before starting:
- Scope: Exactly what will be done, and what will not. Scope creep - expanding the project midway - is one of the top drivers of budget overruns.
- Budget: Material costs plus a 15-20% contingency buffer for surprises. Most projects encounter at least one unexpected cost.
- Timeline: A realistic estimate including drying, curing, or delivery time - not just active work hours.
Once a project moves forward, check whether permits are required. This is something many first-timers skip and later regret. See our detailed guide on which home improvement projects typically require permits to understand when local approval is needed.
Good planning habits pay off on every future project too. Our article on keeping a project on track goes deeper on managing timelines and staying organized once work begins.
DIY vs. Hiring Out: How to Decide
One of the most important judgment calls a homeowner makes is determining which projects to tackle personally and which to delegate to a professional. This isn't just about skill level - it's also about safety, legality, and long-term cost.
Generally appropriate for capable beginners:
- Interior painting
- Replacing cabinet hardware, outlet covers, and light fixtures (with power off)
- Patching small drywall holes
- Installing weather stripping and door sweeps
- Basic landscaping and garden work
Typically requires a licensed professional:
- Electrical panel work or new circuit installation
- Gas line connections or appliance hookups
- Load-bearing wall removal or structural modifications
- Roofing and major waterproofing
- Main plumbing line work
Our companion guide on which maintenance tasks are safe to DIY covers this distinction in more depth. When hiring, always verify license, insurance, and references. Our checklist on what to verify before hiring a contractor walks through that process step by step.
DIY Electrical and Gas Work Carries Real Risk
Improperly completed electrical or gas work can cause fires, explosions, or carbon monoxide hazards - and may void your homeowner's insurance or create liability problems when you sell. Even if you feel confident, work on these systems typically requires permits and licensed contractors in most jurisdictions. When in doubt, hire a licensed professional.
Safety Basics Every Homeowner Should Know
Safety in home improvement isn't just about wearing goggles - it's a mindset that runs through every decision from planning to cleanup.
Before any project:
- Know where your main electrical panel, water shut-off, and gas shut-off are located.
- Use a stud finder and a cable/pipe detector before drilling or cutting into walls.
- Read tool manuals before first use - many injuries come from misuse, not malfunction.
During work:
- Always cut away from your body with utility knives and saws.
- Turn off the correct circuit breaker before touching any electrical outlet, switch, or fixture - and verify power is off with a non-contact voltage tester.
- Use appropriate PPE: safety glasses, hearing protection for power tools, and a dust mask when sanding or cutting drywall.
Hazardous materials to be aware of in older homes: Homes built before 1978 may contain lead paint; homes built before the mid-1980s may contain asbestos in insulation or floor tiles. Disturbing these materials improperly is a serious health hazard. If you suspect either is present, have the material tested before beginning any work that could disturb it, and follow EPA guidance or hire a certified abatement contractor.
Building these habits early makes every future project safer. As your skills grow, you'll also want a broader picture of your home's systems - our guide to the lifecycle of common home systems helps you anticipate what will need attention and when.
This article provides general educational information for homeowners and is not a substitute for professional assessment, local building codes, or licensed trade work. Always verify permit requirements and consult qualified professionals for work involving electrical, gas, structural, or other regulated systems.