
What You Need Before You Start
Drywall patching is one of the more approachable home repairs - but doing it well requires the right materials and a clear sense of which technique fits your specific hole. If you are new to home improvement work in general, our introduction for new homeowners covers tool basics and how to approach DIY projects before diving in.
What you will need
Putty knife or taping knife (4-6 inch)
Used to apply and feather joint compound over the patch area.
Drywall joint compound (pre-mixed)
Fills the patch area and creates a smooth, paintable surface.
Drywall patch panel or scrap drywall
Provides structural fill for holes larger than roughly 6 inches.
Self-adhesive mesh patch (for medium holes)
Bridges holes up to about 6 inches without needing a full backer board.
Drywall screws and backer board (wood furring strip or plywood)
Creates a solid anchor point for larger patch panels inside the wall cavity.
Fine-grit sandpaper (120-150 grit)
Smooths dried compound between coats and before priming.
Drywall primer
Seals the compound before painting to prevent a dull, uneven finish.
Stud finder with AC wire detection
Locates studs and flags hidden wiring before any cutting is done.
How to Patch Drywall: Step-by-Step
Follow these steps in order. Skipping ahead - especially past drying time - is the most reliable way to end up with a patch that shows through paint or cracks within months.
Assess the damage and choose your method
Not all holes are equal. Nail holes and small dings under ½ inch can be filled directly with joint compound. Holes between ½ inch and 6 inches typically call for a self-adhesive mesh patch. Holes larger than 6 inches require cutting out the damaged area and installing a new drywall piece backed by wood supports.
Identify which category your repair falls into before gathering materials - this determines everything else.
Check for wiring and plumbing before cutting
Before using a saw or utility knife to enlarge or cut out a damaged section, run a stud finder with AC detection across the area. If you detect wires, or if you are not certain what runs behind the wall, stop and consult a licensed electrician or plumber. This step is non-negotiable - cutting into live wiring is a serious safety hazard.
Prepare the damaged area
For small holes, clean away any loose paper or crumbling edges with a putty knife. For medium holes using a mesh patch, clean the surface so the self-adhesive backing sticks flat. For large holes, use a drywall saw to cut a clean square or rectangle around the damage. Install wood backer strips inside the wall cavity by sliding them behind the drywall and driving screws through the existing wall face into the backer - these give your patch panel something solid to anchor to.
Install the patch and apply first coat of compound
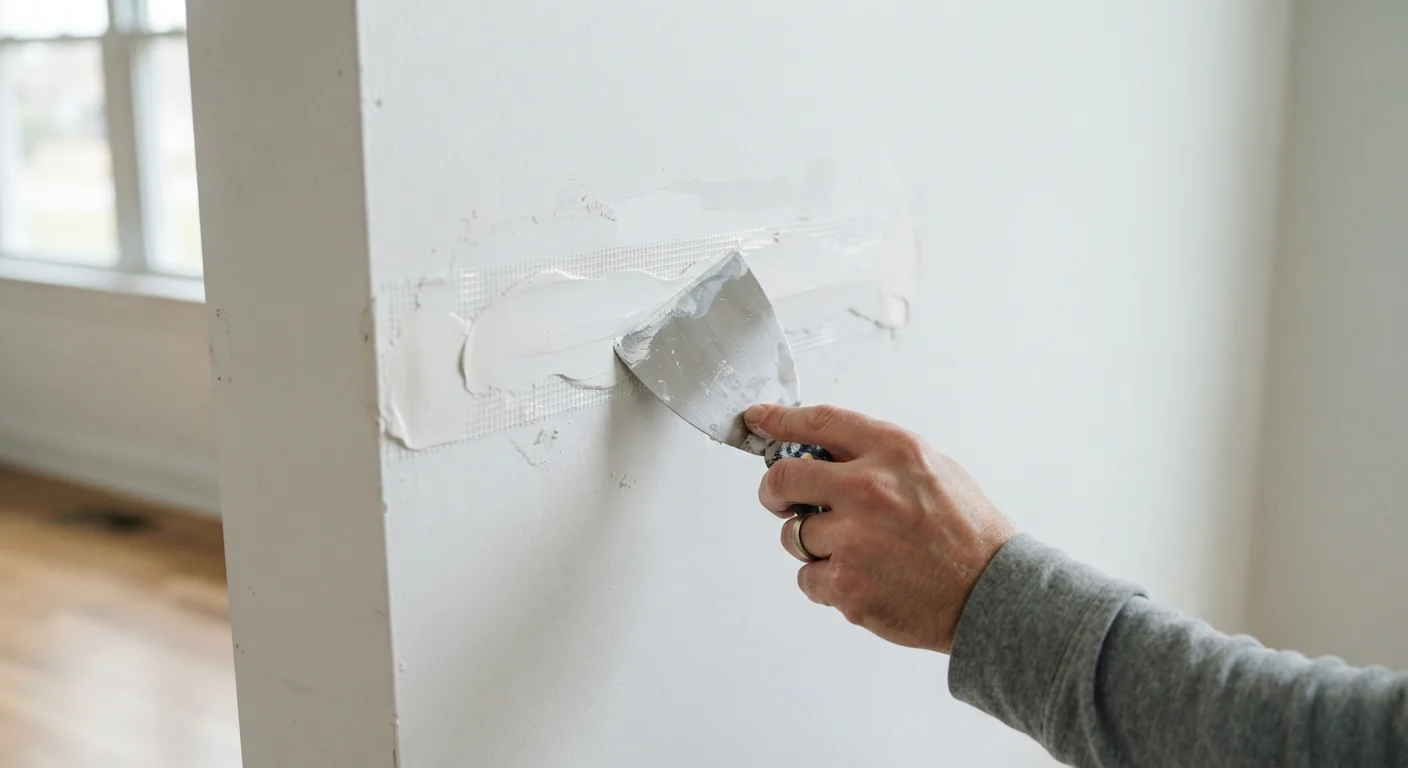
For mesh patches, press firmly to the wall and apply a thin coat of joint compound over the mesh with your taping knife, working it into the holes of the mesh. For large patches, cut a piece of drywall to fit the opening, screw it into the backer strips, then apply compound over all seams using paper or mesh drywall tape.
The first coat does not need to be perfect - its job is to embed the tape or mesh and fill the void. Feather the edges outward at least 4-6 inches beyond the repair so the transition is gradual.
Sand, apply second and third coats, then sand again
Once the first coat is completely dry - typically 24 hours, though this varies by humidity and product - lightly sand with 120-grit paper to knock down ridges. Apply a second, slightly wider coat, feathering even further out. Allow to dry fully, then sand again. A third thin skim coat is usually needed for a truly smooth result. Each coat should be thinner and wider than the last.
Prime and paint the repaired area
Once the final coat is dry and sanded smooth, apply a coat of drywall primer to the repaired area. Compound is porous and will absorb paint unevenly, creating a dull spot called flashing that shows through even after multiple paint coats. Primer seals the compound and gives a uniform base. After the primer dries, paint to match your wall. For best results, paint the entire wall rather than spotting in the patch area - this reduces the chance of a visible color mismatch.
Patience Between Coats Pays Off
Rushing the drying process is the single most common reason a drywall patch looks lumpy or cracked. Resist the urge to apply a second coat to wet compound - it will trap moisture and eventually shrink or separate. In humid conditions or cool rooms, drying can take longer than the packaging suggests.
Finishing Notes and Common Pitfalls
A few things trip up first-timers even after the patching itself goes well:
- Flashing: A shiny or dull spot in the paint that traces the patch outline. Almost always caused by skipping primer. Fix it by re-priming and repainting.
- Visible tape lines: Caused by applying compound too thinly or not feathering far enough. Sand back the area and apply a wider skim coat.
- Popped edges: If the patch panel was not firmly secured to the backer, it may flex and crack the compound. Re-screw the panel and re-coat.
Once your walls are solid, you may also want to address nearby gaps around outlets, windows, or baseboards. Our room-by-room air sealing guide shows how to handle those effectively.
Always Check Before You Cut
Cutting into a wall without confirming what is behind it carries real risk. Electrical wiring and plumbing pipes run through wall cavities and are not always where you expect them. Always use a stud finder with AC detection and, when in doubt, consult a licensed professional before making any cuts.
Large or Structural Repairs May Need a Pro
If your drywall damage is extensive - covering multiple wall sections, affecting corners, or caused by a structural shift - it may be beyond a basic DIY repair. Similarly, any repair that reveals mold, significant pest damage, or compromised insulation should be evaluated by a qualified contractor before patching over it. See our guide to DIY vs. professional repairs for help deciding when to call in help.