

Why Air Leaks Cost More Than Most Homeowners Realize
Air leaks - the uncontrolled movement of air through gaps and cracks in your home's envelope - are responsible for a significant share of heating and cooling energy loss in typical homes. Unlike insulation problems, which slow the transfer of heat through solid materials, air leaks create direct pathways for conditioned air to escape and outdoor air to enter. The result is a home that's harder to heat in winter, harder to cool in summer, and perpetually uncomfortable near drafty walls and windows.
The good news: sealing air leaks is among the most cost-effective home improvements you can make, and most of the work is straightforward enough for a motivated homeowner to handle over a weekend. The materials are inexpensive, the tools are basic, and the payoff - in both comfort and reduced utility bills - is immediate. For a broader look at which improvements deliver the best return, our article on energy efficiency upgrades that deliver measurable results puts air sealing in context alongside other improvements.
Use a Blower Door Test for Hidden Leaks
A blower door test, performed by a certified energy auditor, depressurizes your home and makes even tiny leaks detectable with a smoke pencil or infrared camera. Many utility companies offer this service at low or no cost. It's the most reliable way to find leaks you'd never spot by eye.
Before you begin sealing, gather your tools and materials so you can work efficiently room by room.
Caulk gun and paintable latex or silicone caulk
Seals stationary gaps around window and door frames, baseboards, and where walls meet floors or ceilings.
Expanding foam sealant (low-expansion)
Fills larger irregular gaps around pipes, wires, and structural penetrations where caulk won't bridge the space.
Weatherstripping (foam tape, V-strip, or door sweep)
Seals moving gaps along door and window edges that caulk cannot accommodate.
Electrical outlet gaskets
Pre-cut foam gaskets that slip behind outlet and switch cover plates to block drafts through exterior walls.
Flashlight and mirror
Helps you inspect dark corners, behind appliances, and inside cabinets for gap locations.
Incense stick or smoke pencil
Reveals air movement - smoke bending toward or away from a surface confirms a draft.
You'll also want to make sure you meet a few practical prerequisites before starting:
What you will need
Room-by-Room Sealing: Where to Look and What to Use
Seal Air Leaks Before Adding Insulation
Adding insulation over unsealed gaps is a common and costly mistake. Air moves through gaps regardless of insulation thickness, so seal all penetrations first. This is especially critical in the attic, where bypasses around ceiling fixtures, plumbing chases, and wall top plates can undermine even well-insulated spaces.
Follow the steps below to systematically work through your home, starting at the attic and moving down to the basement. This top-to-bottom sequence ensures that the most impactful leaks - which are typically in the attic - are addressed first, and that foam or caulk applied earlier won't be disturbed by later work.
Perform a whole-home draft inspection
On a cool, windy day, close all windows and doors and turn off exhaust fans. Walk slowly through every room holding a lit incense stick or your dampened hand near suspected leak points: window frames, door edges, electrical outlets on exterior walls, baseboards, and ceiling light fixtures. Note every location where the smoke wavers or you feel a temperature difference. A systematic pass now prevents missed spots later.
Seal the attic hatch and top-plate bypasses
The attic hatch is one of the single largest air leak points in most homes. Glue weatherstripping around the hatch frame and, if the hatch is uninsulated, attach rigid foam board to its top surface. Inside the attic, look for gaps where interior walls meet the attic floor - these top-plate bypasses allow conditioned air to escape directly into the attic. Seal them with low-expansion foam. Similarly, seal around any pipes, wires, or ducts penetrating the attic floor.
Weatherstrip and caulk exterior doors
Close each exterior door and look for daylight around the frame - any visible light is a confirmed air leak. Replace worn weatherstripping along the door sides and top using V-strip or compression foam, pressing it firmly into the door stop. At the bottom, install or replace the door sweep so it makes consistent contact with the threshold. Apply fresh caulk where the door frame meets the exterior siding, not the moving parts of the door itself.
Caulk around window frames and sills
Run a bead of latex or silicone caulk along the interior joint where the window frame meets the surrounding wall. Pay special attention to the sill - this horizontal surface collects gaps from settling and seasonal wood movement. On the exterior, check the caulk line where the window frame meets the siding and re-apply wherever it has cracked or pulled away. For more on when caulk reaches the end of its useful life, see our guide to caulk failure and prevention.
Seal electrical outlets and switch plates on exterior walls
Switch off the circuit breaker for the outlets you're working on. Remove the cover plate and press a pre-cut foam gasket - available at any hardware store - over the outlet or switch body before replacing the plate. These inexpensive gaskets block drafts coming through the stud cavity of exterior walls. For outlets without gaskets, child-safety plugs also reduce airflow through unused receptacles.
Address kitchen and bathroom penetrations
Under the kitchen sink, seal around the cold- and hot-water supply pipes and the drain line where they pass through the cabinet floor or exterior wall - use low-expansion foam for irregular gaps larger than half an inch, and caulk for smaller ones. In bathrooms, seal around toilet supply lines, vanity plumbing, and exhaust fan housings. Check where the tub or shower surround meets the floor and wall; gaps here allow both air and moisture intrusion. See our related article on identifying hidden water damage for signs that past air and moisture leaks have caused problems behind finishes.
Check the basement and crawl space rim joist
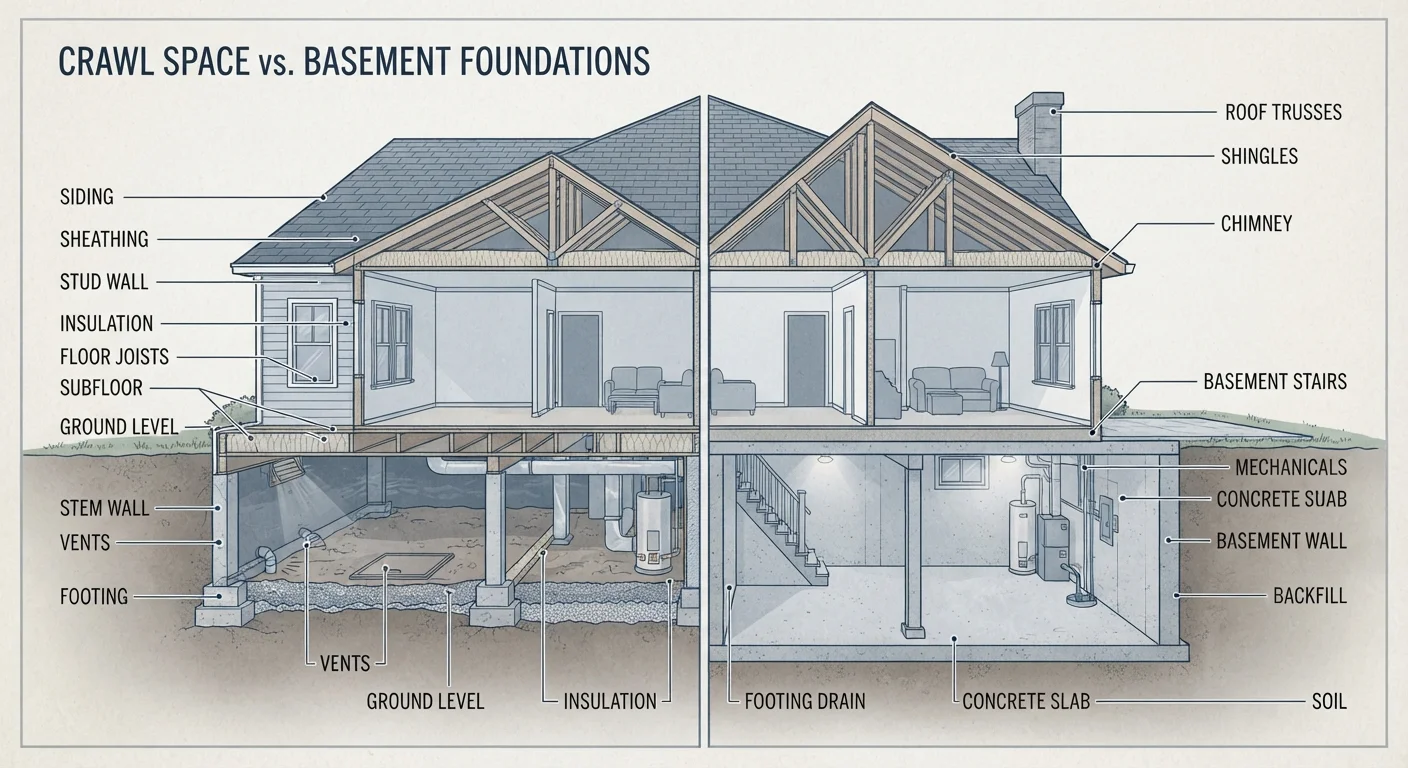
The rim joist is the framing member that sits on top of your foundation wall and supports the floor above - it's frequently a major source of air infiltration and heat loss. In an unfinished basement, this area is visible from the interior. Cut pieces of rigid foam board to fit snugly between each floor joist bay and secure them with foam adhesive, then run a bead of caulk around the perimeter of each piece. For a deeper dive on insulation choices for this and other applications, see our insulation materials comparison.
Do Not Seal Combustion Appliance Air Supplies
Gas furnaces, water heaters, and wood-burning fireplaces require a source of combustion air. Never seal vents or openings that supply air to these appliances without first consulting a licensed HVAC technician. Sealing the wrong openings can create dangerous carbon monoxide buildup. When in doubt, call a professional.
Once you've completed the sealing work, it's worth reassessing your attic ventilation. Tightening the building envelope changes airflow dynamics, and proper ventilation remains important for moisture control. Our article on attic ventilation for homeowners explains how these systems work together. For homes in cold climates, pairing air sealing with winterization measures is also worthwhile - see our home winterization guide for a full checklist.