
Why Caulk Matters More Than Most Homeowners Realize
Caulk is the thin line of defense between your home's interior and the outside world - or between a dry wall cavity and the plumbing it surrounds. When it's working, you don't notice it. When it fails, water, cold air, and even insects find their way in. The damage that follows - rotted framing, mold growth, and rising energy bills - can cost thousands to repair. Understanding why caulk deteriorates is the first step toward staying ahead of it.
Caulk fails for several reasons: age, movement, moisture, and improper installation are the most common culprits. Buildings expand and contract with temperature changes, and caulk must flex along with them. When it can't, it cracks, separates, or peels. Not all caulk products handle this equally, which is why choosing the right type for each location is just as important as applying it correctly.
Spotting early signs of hidden water damage is easier when you understand what barriers are supposed to keep moisture out in the first place. Caulk is near the top of that list.
Skipping surface preparation before applying new caulk.
Why it happens: Homeowners often want to finish the job quickly and assume a clean-looking surface is ready to go.
Using the wrong type of caulk for the location.
Why it happens: With dozens of products on store shelves, it's easy to grab what's familiar or on sale without reading the label.
Applying caulk over existing, failing caulk rather than removing it first.
Why it happens: It looks like a quick fix, and the old caulk seems like a reasonable base layer.
Not allowing caulk to cure fully before exposing it to water or weather.
Why it happens: Cure times vary by product and aren't always prominently displayed, so the step gets overlooked in the rush to finish.
Ignoring caulk until a visible leak or stain appears.
Why it happens: Caulk failure is gradual and often not obvious until water has already caused damage behind a surface.
When and Where to Inspect - and What to Do Next
A yearly walk-through of your home's key caulked areas takes less than 30 minutes and can prevent far more expensive repairs. Focus on these locations:
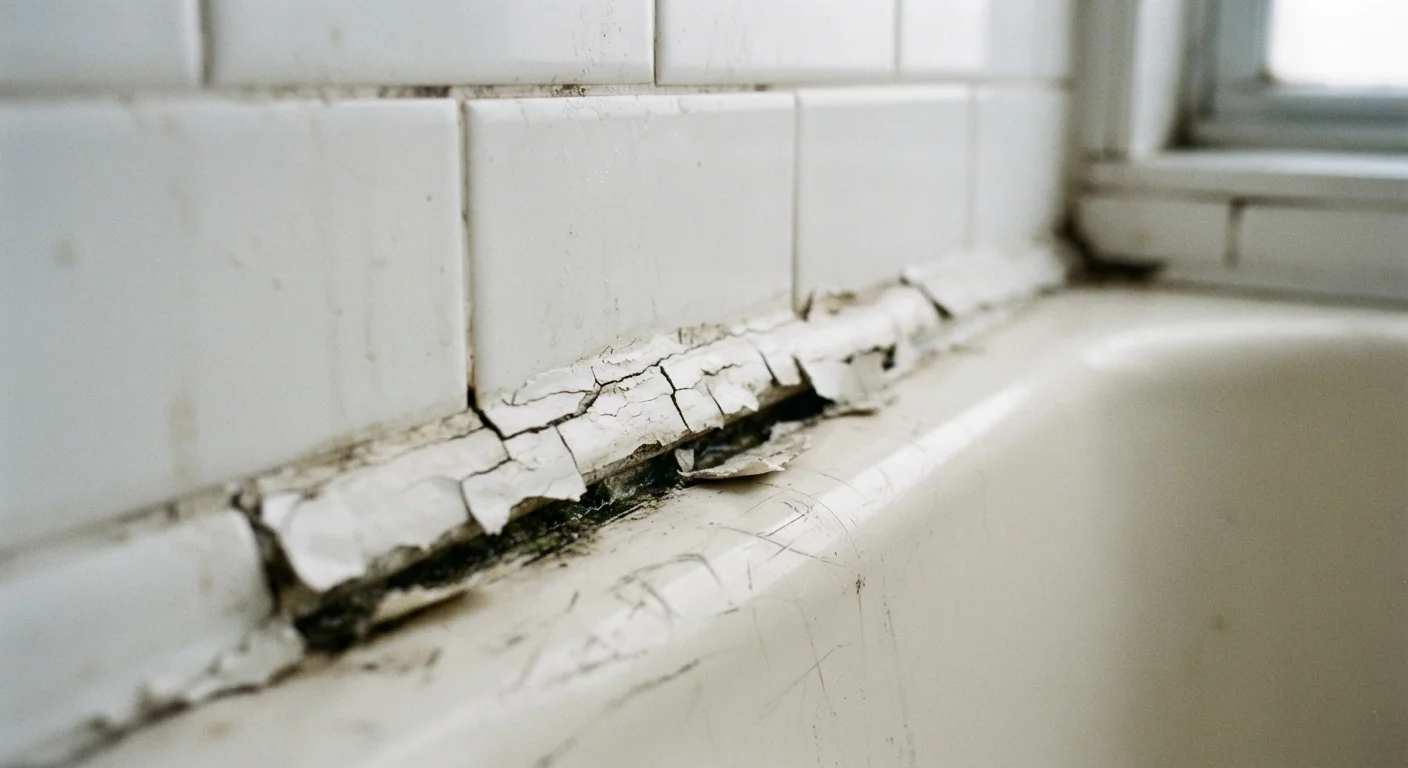
- Bathrooms and kitchens: Around the tub, shower pan, sink bases, and backsplash edges. These see the most moisture and temperature cycling.
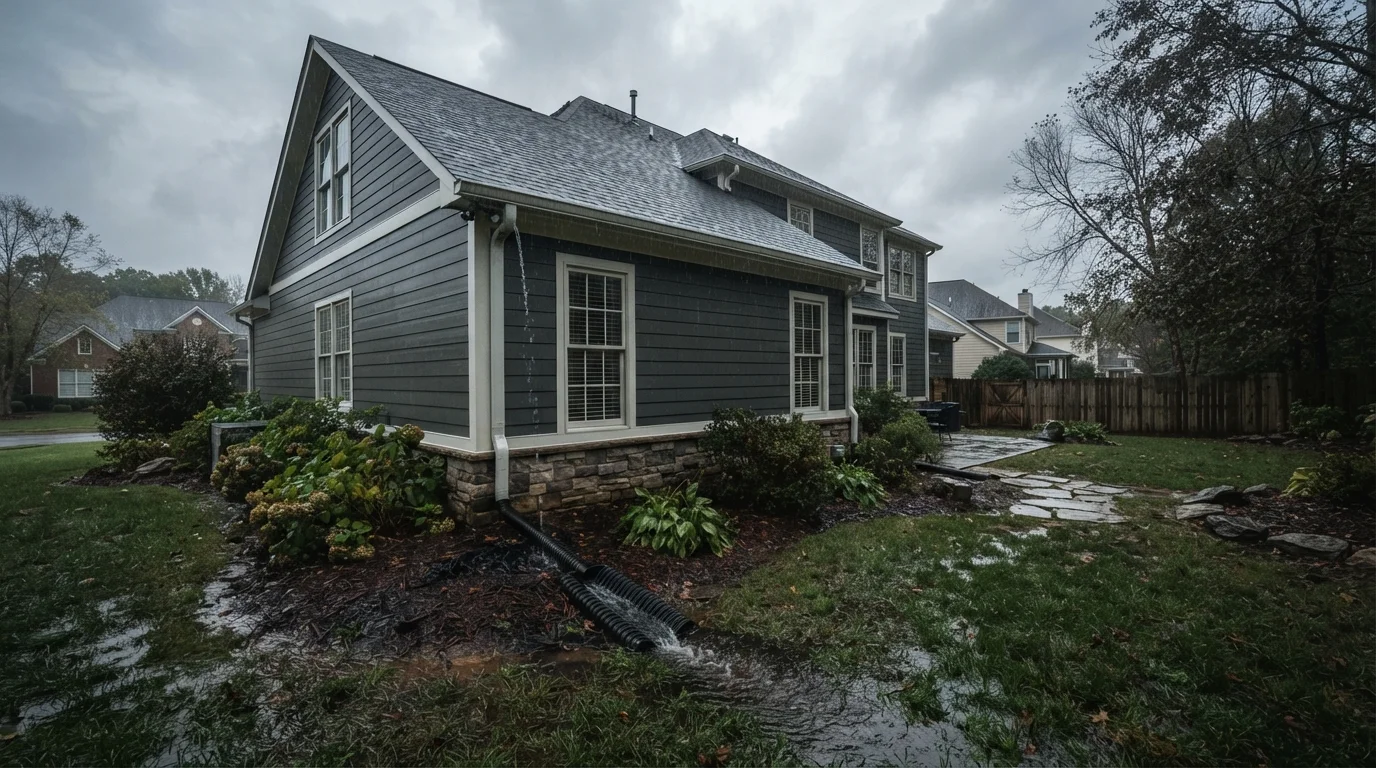
- Windows and exterior doors: Check where the frame meets siding and where trim meets the wall. Gaps here directly affect energy efficiency.
- Exterior penetrations: Anywhere a pipe, wire, vent, or hose bib exits the home needs a tight seal against pests and weather.
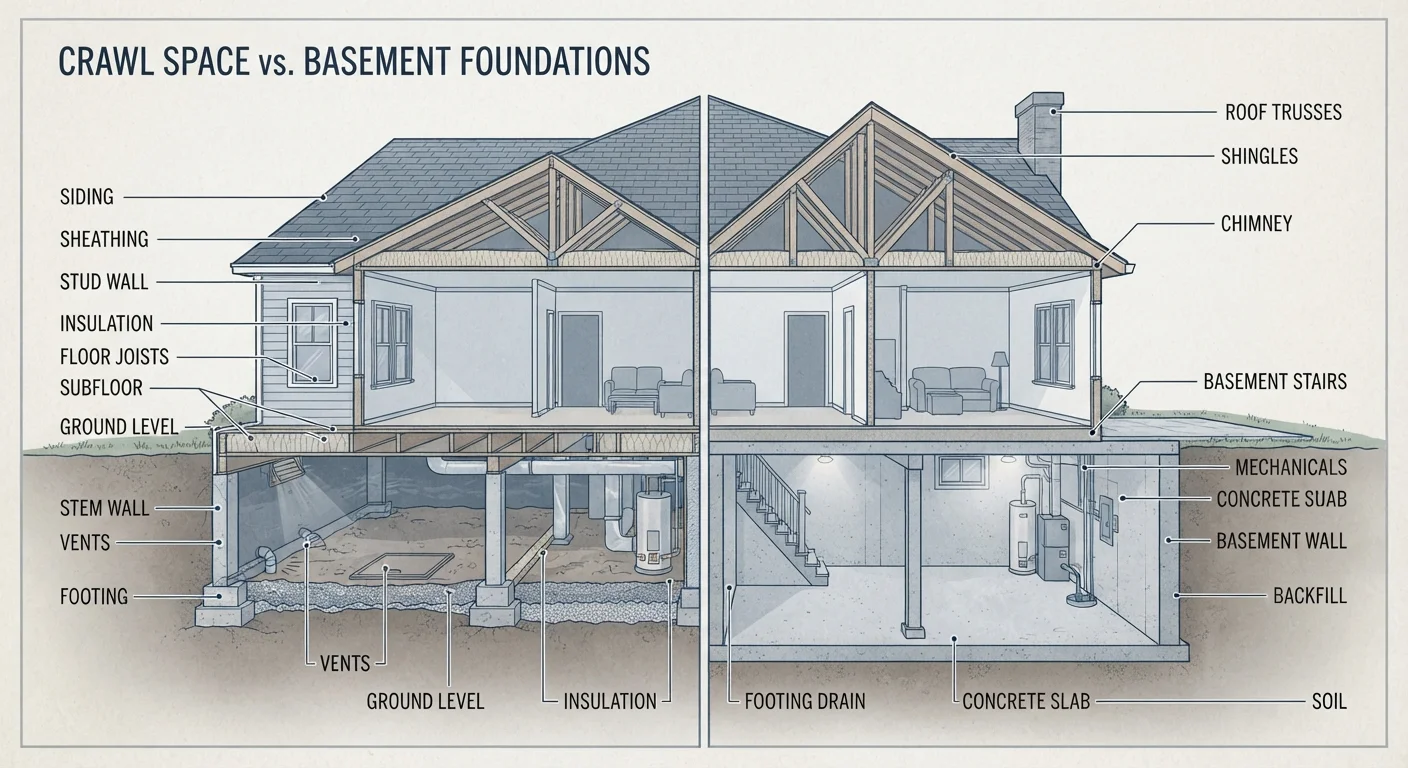
- Basement and foundation sill areas: Often overlooked but critical for keeping moisture and drafts out at ground level.
If caulk shows cracking, shrinkage, discoloration, or pulls away from the surface with light pressure, it's time to remove it completely and reapply - not patch over it. Layering new caulk over old rarely holds and tends to trap moisture underneath.
Never Caulk Over Mold or Moisture
If you see dark staining, soft drywall, or smell mustiness near a caulk joint, don't seal over it. Caulking over active moisture or mold traps the problem inside the wall and accelerates structural damage. Address the source of moisture and allow surfaces to dry thoroughly - and consult a professional if mold is present - before resealing.
For a deeper look at where air sneaks through, the room-by-room guide to sealing air leaks pairs well with a caulk inspection, since many of the same gaps affect both moisture and energy performance.
When replacing caulk, always use a product formulated for the specific surface and exposure. Silicone caulk excels in wet areas due to its flexibility and mold resistance. Paintable latex caulk suits window and door trim on the interior. Exterior-grade products are formulated to handle UV exposure and wider temperature swings. Using an interior-only product outdoors - or vice versa - shortens its working life considerably.
5-10 years
Typical caulk lifespan before replacement
Most home improvement guidance suggests caulk in high-moisture areas like showers may need replacement closer to every 5 years, while lower-stress locations may last a decade.
Up to 30%
Heat loss attributable to air leaks in a typical home
According to the U.S. Department of Energy, air leaks through gaps and cracks - including failed caulk - can account for a significant share of heating and cooling losses.